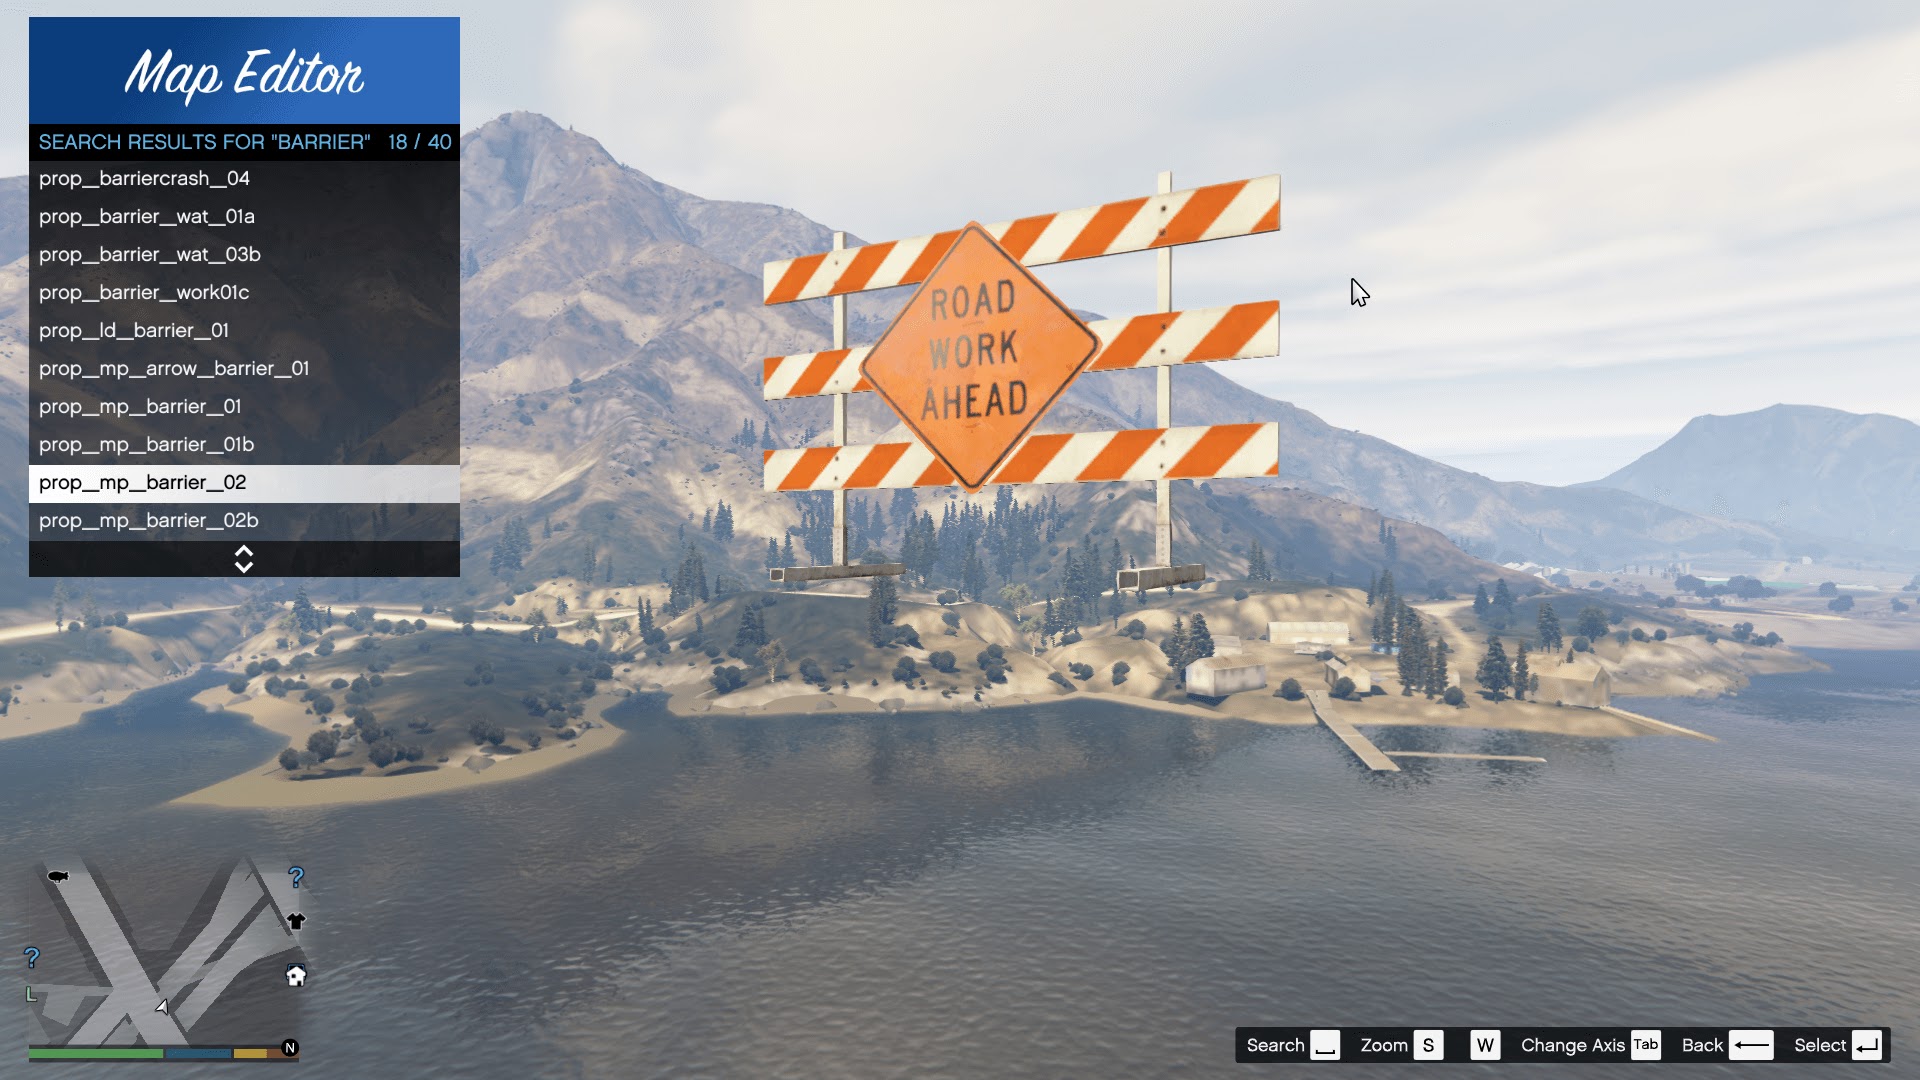
The Map Editor 2.13 is one of the most powerful tools for creating and editing custom maps in Grand Theft Auto (GTA) games. This mod allows you to modify the game’s environment by adding, removing, or relocating objects within the map. The latest version, 2.13, comes with new features and optimizations, making it easier than ever to create complex maps. If you're eager to get started, follow this step-by-step guide to install it.

Installation Guide:
Download the Map Editor 2.13:
- First, download the Map Editor 2.13 from the Link Given Below which will contain the necessary files.
Extract the Files:
- Use a program like WinRAR or 7-Zip to extract the downloaded files. Extract them to a new folder for easier management.
Install Script Hook V:
- You need Script Hook V to run the Map Editor. Download and install Script Hook V by copying the ScriptHookV.dll file into your GTA V directory.
Install Native Trainer:
- The Native Trainer often comes packaged with Script Hook V. Copy the trainer.asi file into your game folder.
Copy Map Editor Files:
Now, open the extracted folder for Map Editor 2.13 and copy the following files:
- MapEditor.asi
- MapEditor.xml
Paste these files into your GTA V main directory, where GTA5.exe is located.
Install Additional Requirements:
- You might also need OpenIV to install additional mods or add-ons like custom objects for the Map Editor. Make sure your GTA V is set up for modding using the "mods" folder to avoid altering original game files.
Launch the Game:
- Once everything is in place, launch GTA V. Use the assigned hotkey (usually F7) to open the Map Editor interface in the game. From here, you can start editing and creating maps.
![Gameconfig For Limitless Vehicles Version 1.0.350.1[1.36]](https://blogger.googleusercontent.com/img/b/R29vZ2xl/AVvXsEj-5B0hP52P2X97-pcmjnHokBYXFU8ZAfeeXhke4rbhloQAX_Gsu0MqoTQV4hzzp8x6m3HOkL1a_92lBzcsdbeCn0EwOryn9cOsRqA6IXHZd-ITqmtqXTE-mfdiObVHmVyRLj-gBtV5wd5BTTtA1evHSgeqhIIVXi0o3aAbI_Pr_7TmZxOjnBKssoC9dwE/w72-h72-p-k-no-nu/Gameconfig%20For%20Limitless%20Vehicles%20Version%201.0.350.1%5B1.36%5D.webp)
.webp)


.webp)